Pumpkin Crochet Coaster Pattern for Fall
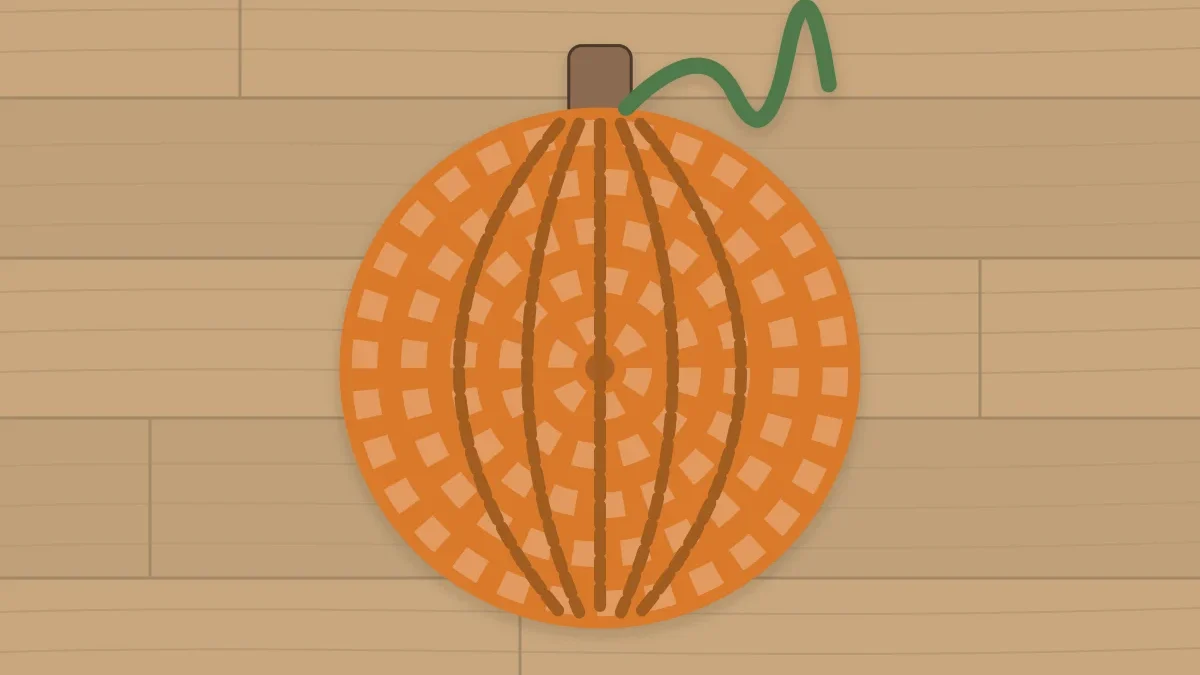
An orange double crochet circle turned into a pumpkin with surface slip stitch ribs, a four-stitch brown stem worked in rows and a small green curl.
Pattern at a glance
Materials
- Worsted weight (#4) cotton yarn in orange
- Small amounts of worsted weight (#4) cotton yarn in brown and green
- Two stitch markers
- Yarn needle
- Scissors
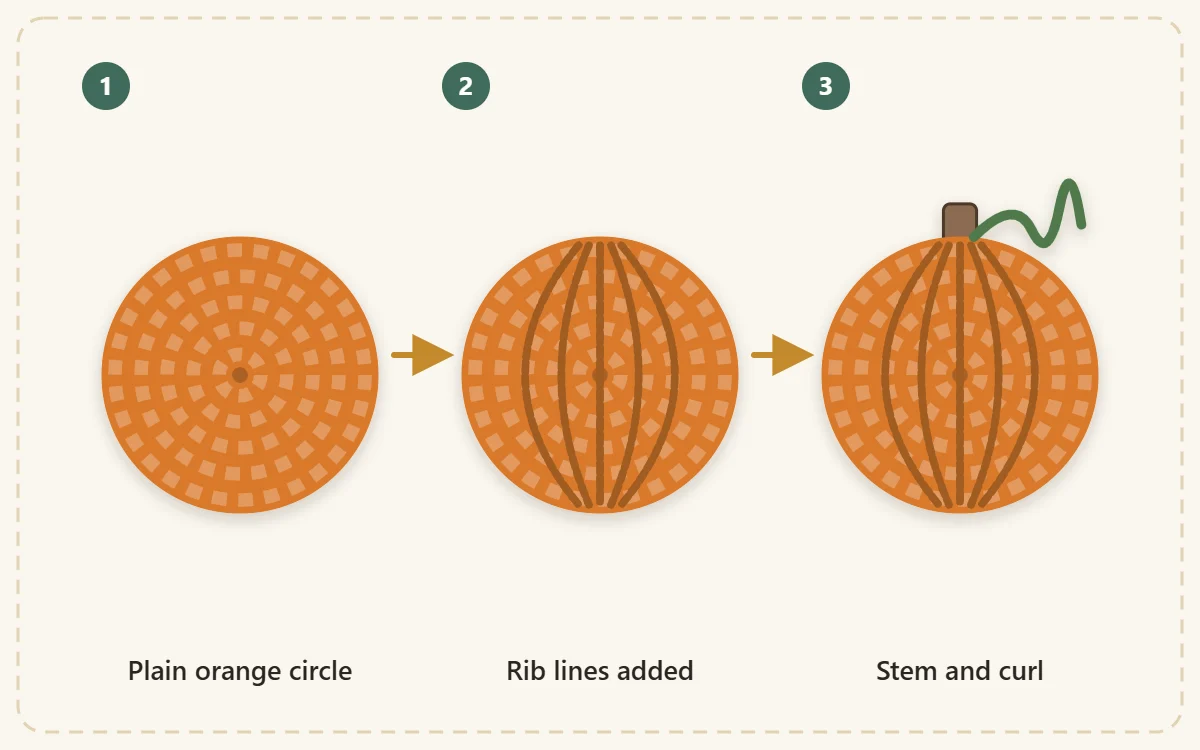
A pumpkin coaster is a plain orange circle with three small additions: curved rib lines stitched on the surface, a short brown stem on the top edge, and a green curl. None of the additions changes the circle’s stitch count.
This pattern is written in US crochet terms.
What You Need
- Worsted weight (#4) cotton yarn in orange, with small amounts of brown and green
- US H-8 (5 mm) hook, or US G-6 (4 mm) for a denser fabric
- Two stitch markers or scraps of contrasting yarn
- Yarn needle and scissors
The orange circle comes out at about 4 to 4.25 in (10 to 11 cm) across with worsted cotton and a 5 mm hook, and the stem adds a little over 0.5 in (1.5 cm) at the top. Both are approximate, since gauge varies. The brown and green parts need only a short length each, so leftovers are ideal.
Abbreviations
- ch: chain
- sl st: slip stitch
- sc: single crochet
- dc: double crochet
- st(s): stitch(es)
The Orange Circle
This is the same four-round circle as the classic round double crochet coaster. The chain 3 at the start of each round counts as a double crochet.
- Rnd 1: With orange, make a magic ring. Ch 3 (counts as dc), 11 dc in the ring. Pull the tail to close the ring and join with a sl st in the top of the ch 3. (12 dc)
- Rnd 2: Ch 3 (counts as dc), dc in the same st, 2 dc in each of the next 11 sts. Join with a sl st in the top of the ch 3. (24 dc)
- Rnd 3: Ch 3 (counts as dc), dc in the same st, dc in the next st, [2 dc in the next st, dc in the next st] 11 times. Join with a sl st in the top of the ch 3. (36 dc)
- Rnd 4: Ch 3 (counts as dc), dc in the same st, dc in each of the next 2 sts, [2 dc in the next st, dc in each of the next 2 sts] 11 times. Join with a sl st in the top of the ch 3. Fasten off. (48 dc)
If the circle cups or ruffles, sort that out before decorating it;how to keep crochet coasters flat explains the causes and fixes.
Marking the Top and Bottom
A pumpkin’s ribs run from the stem to the base. Place a marker in any stitch of Rnd 4 and call it the top. Count that stitch as 1 and count around the edge to stitch 25, then mark that one as the bottom. With 48 stitches in the round, stitches 1 and 25 sit exactly opposite each other.
Surface Slip Stitch Ribs
Surface slip stitch draws a raised chain line on top of finished fabric. The working yarn stays behind the coaster the whole time, and only the hook and the loops come to the front. Use the same orange, or a slightly darker one if you want the lines to show.
- Hold the coaster with the right side facing you and the yarn behind it. Insert the hook from front to back between two stitches of Rnd 4, right beside the bottom marker. Yarn over at the back and pull a loop through to the front, leaving a tail of about 6 in (15 cm) behind.
- Insert the hook from front to back a short step further along your line, about the width of one stitch. Yarn over at the back, pull the loop through the fabric and straight through the loop on the hook. That is one surface slip stitch.
- Repeat step 2, working through the gaps between stitches, in a curve up to the top marker.
- At the top, cut the yarn and pull the tail through the last loop to the front. Thread the tail onto the needle and take it to the back just beyond the last stitch so the final loop is pinned down.
Four lines make a convincing pumpkin. Work two inner lines that bow gently, one on each side of the center, passing roughly one round out from the middle. Then work two outer lines that bow more strongly, one on each side, passing through Rnd 3 at their widest point. All four begin at the bottom marker and meet again at the top. Three or five lines work too; there is no stitch count to hit here, only curves that mirror each other.
Watch out
Keep the surface slip stitches loose. Each one should lie on the fabric at its natural length. If you pull them tight, the line gathers the circle and it will no longer lie flat.
The Brown Stem
The stem is a tiny rectangle worked in rows over four stitches at the top edge. The chain 1 at the start of each row does not count as a stitch, so every row has four single crochet.
- Join: With the right side facing, join brown with a sl st in the stitch just before the top marker, so that the marked stitch will be the second of the four.
- Row 1: Ch 1 (does not count as a st), sc in the same st as the join and in each of the next 3 sts. Turn. (4 sc)
- Row 2: Ch 1 (does not count as a st), sc in each st across. Turn. (4 sc)
- Row 3: Ch 1 (does not count as a st), sc in each st across. (4 sc)
Fasten off and weave the brown tails down through the stem itself. The stem sits right above the point where the rib lines meet. For a taller stem, add one more row of 4 single crochet.
The Green Curl
The curl is a short chain with two stitches crowded into every chain, which forces the strip to twist.
- With green, ch 8.
- Work 2 sc in the 2nd ch from the hook and 2 sc in each of the remaining 6 chains. (14 sc)
- Fasten off, leaving a tail of about 6 in (15 cm).
Use the tail to sew one end to the edge of the circle right beside the stem, with two or three small stitches, and let the rest lie along the edge.
Finishing and Shaping
Weave every tail into its own color on the back. The guide to weaving in ends shows a secure three-direction path.
Dampen the coaster, lay it flat, smooth it into shape and let it dry. The rib lines add a little texture, so set a glass on the finished coaster to confirm it sits steadily. For washing, follow the care instructions on your yarn label.
The same idea of dressing up a plain circle works in other seasons too: the daisy crochet coaster starts from a small single crochet center and adds a round of petals.
Frequently asked questions
How do I make the lines on a crochet pumpkin coaster?
They are surface slip stitches worked on top of the finished circle, with the yarn held behind the fabric. Work them loosely in curves from the bottom edge to the top edge.
How many stitches wide is the stem?
Four single crochet, worked back and forth for three rows on the top edge of the circle. Add a fourth row if you want a taller stem.
Can I skip the green curl?
Yes. The curl is optional and is sewn on at the end, so the coaster is complete with just the ribs and the stem.