Finishing Crochet Coasters: Weaving Ends and Clean Joins
How to finish a crochet coaster so it stays finished: tails long enough to weave, three changes of direction on the back, and an invisible join on the last round.
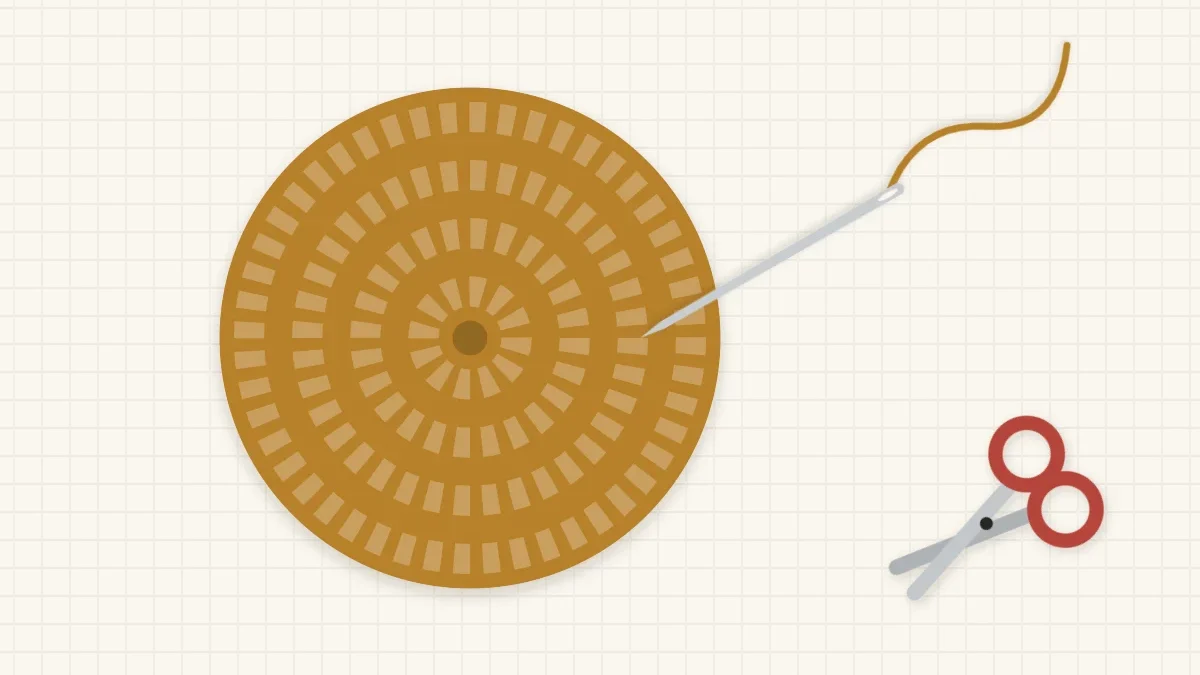
Pattern at a glance
Materials
- A finished coaster with tails of about 6 in (15 cm)
- Yarn needle
- Scissors
The last ten minutes of a coaster decide how it looks for the rest of its life. A coaster gets picked up, stacked, rubbed by the base of a mug and washed, and every one of those things tugs at the yarn tails. Weave them in with a plan and close the final round cleanly, and the piece keeps its shape. Snip them short and hope, and they work their way out again. This guide uses US crochet terms.
Leave Tails Long Enough to Work With
Every tail should be about 6 in (15 cm) long: the one at the start, the one at the end, and both ends at each color change. That length is enough to thread a yarn needle comfortably and to travel in more than one direction before you trim. A shorter tail is hard to thread and can only be tucked under two or three stitches, which is rarely enough to hold it.
Weave in Three Directions
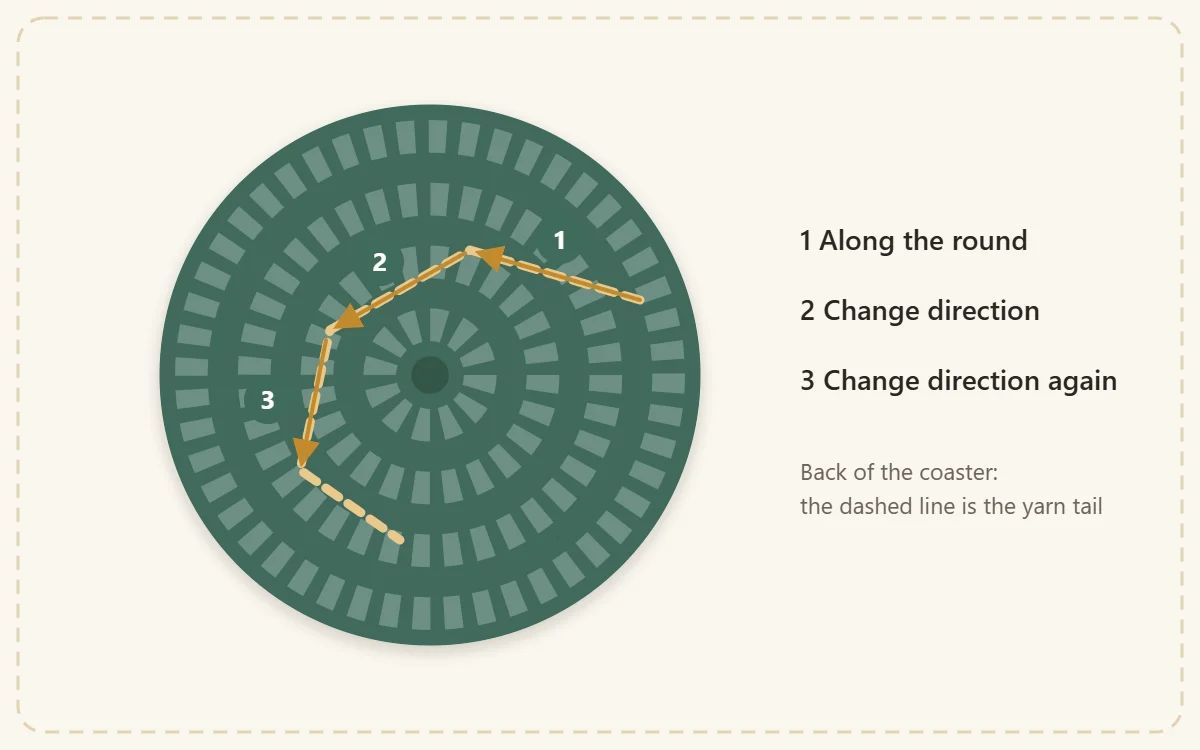
A tail that runs in one straight line can slide back out along the same line. Changing direction locks it, because pulling on the end now has to drag the yarn around corners. Three passes are a good standard for something that will be handled as much as a coaster. Always work on the back of the piece and run the needle through the back of the stitches, not over the surface.
- Thread the tail on a yarn needle and run it under the back bumps of five or six stitches, following the direction of the round or row.
- Turn and run the needle back the other way through the neighboring stitches, skipping the first strand so the tail catches instead of simply retracing its path.
- Turn a third time and take a shorter pass at an angle, toward the center of a round coaster or up into the next row of a square one.
After each pass, stretch the fabric gently between your fingers so the tail settles to the same length as the stitches around it. A tail pulled too tight puckers the coaster. Flip the piece over as you go and check that nothing shows on the front, which matters most when the tail is a darker color than the stitches hiding it.
Split the Plies for Extra Grip
Smooth cotton has less natural grip than wool, so tails in cotton have more freedom to slide. One way to add friction is to push the needle through the middle of the strands you are passing, splitting the plies, instead of sliding neatly underneath them. The tail is then held inside the yarn itself.
Split the plies on at least one of the three passes. Keep to the back of the fabric, and work in stitches of the same color where you can, so a split strand does not show a fleck of the wrong shade on the front. If your coaster has stripes, the article on changing colors in coasters covers how to keep the number of ends down in the first place.
Slip Stitch Join Versus Invisible Join
There are two common ways to close the last round. The slip stitch join is the quick one: slip stitch into the first stitch of the round, cut the yarn and pull the tail through the loop. It is secure, but it leaves a small knot-like bump and a dip beside it, so the edge has one spot that looks different from the rest.
The invisible join, also called a needle join, replaces that slip stitch with a loop of yarn sewn to look exactly like the top of a stitch. The row of V shapes around the edge carries on without a break.
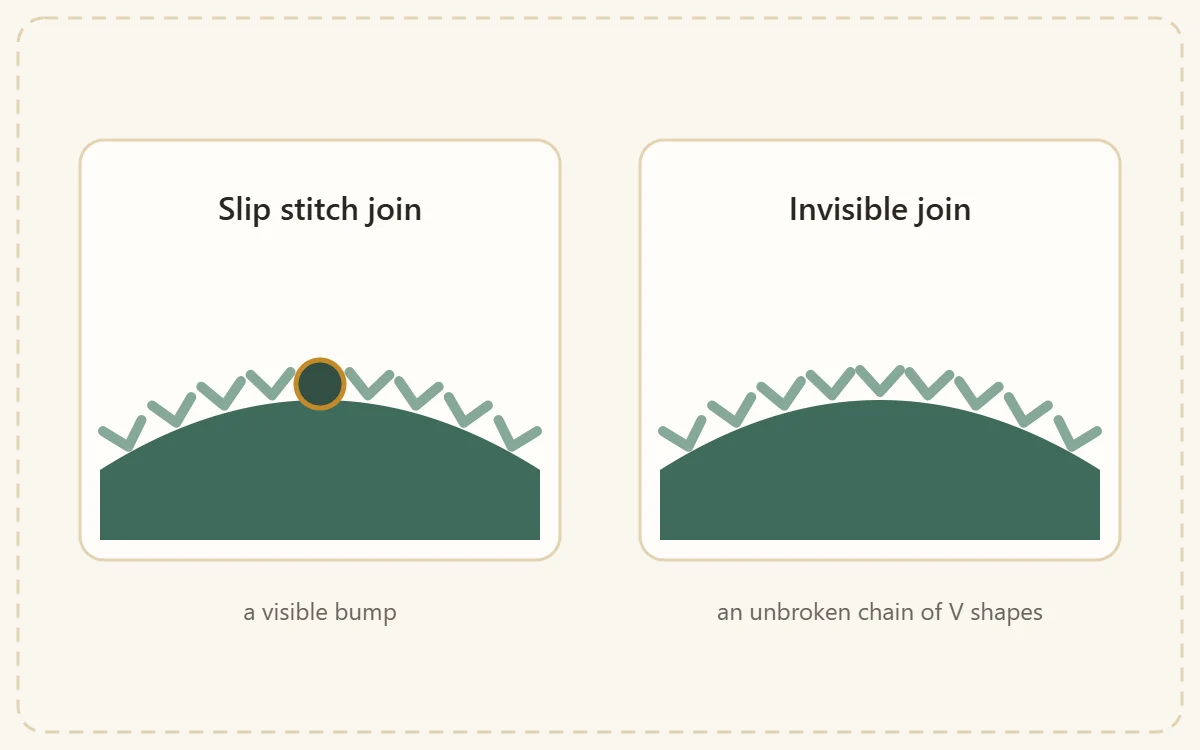
Use the slip stitch join between rounds while you are working, and whenever a border will cover the edge afterward. Use the invisible join on the final round of anything whose edge will be on show.
How to Work an Invisible Join
These steps are for a final round that began with a starting chain, as most joined rounds do.
- Finish the last stitch of the round. Do not slip stitch.
- Cut the yarn, leaving a 6 in (15 cm) tail. Pull the loop on your hook upward until the tail comes all the way out through the top of the last stitch.
- Thread the tail on a yarn needle. Skip the starting chain and pass the needle from front to back under both top loops of the first real stitch of the round.
- Bring the needle back to the last stitch and insert it down through the center of its top, where the tail came out, catching the back loop and the strand just behind it.
- Pull gently until the new loop is the same size as the V shapes on either side. It now sits over the starting chain and reads as the top of a stitch.
- Weave the tail in on the back in three directions.
For a coaster worked in a continuous spiral, first slip stitch into the next one or two stitches to step the edge down smoothly, then make the same needle join into the stitch that follows.
Trim Close but Not Flush
Once a tail is woven, stretch the coaster lightly in every direction, then cut the tail about 1/8 in (3 mm) from the fabric. The small stub draws back into the stitches when the fabric relaxes. Cutting flush against the surface risks nicking a stitch, and it leaves no slack if the tail shifts in the wash.
If you plan to block the coaster, you can weave the tails first and trim them after it dries, since any movement during blocking will already have happened. The steps are in the guide to blocking crochet coasters.
A Final Check Before You Call It Done
- Every tail was at least 6 in (15 cm) before weaving.
- Each tail changes direction three times on the back.
- Nothing shows through on the front, including at color changes.
- The center of a magic ring is closed and stays closed when you tug the fabric.
- The last round is closed with an invisible join, or with a slip stitch join that a border will hide.
- The coaster lies flat and no woven tail has puckered it.
If the edge still looks unfinished after all that, a border may be what is missing. A single round from the guide to coaster edgings covers uneven row ends and gives the joins somewhere tidy to sit.
Multi-color projects are where neat finishing pays off most. The two-color spiral coaster ends with two tails at the edge and two at the center, which makes it good practice for everything on this page.
Frequently asked questions
How long should yarn tails be for weaving in?
About 6 in (15 cm) is a practical length. It is long enough to thread a yarn needle and to change direction three times before trimming.
Should I knot the ends of my crochet coaster?
A knot is not needed if the tail is woven in three directions through the back of the stitches. Knots can leave a hard lump that a glass may rock on.
Is an invisible join as secure as a slip stitch join?
The join itself is only a sewn loop, so its security comes from weaving the tail in properly afterward. Woven in three directions, it holds like any other tail.